Discovering that your IP address has landed on a spam blacklist is frustrating, especially when it starts hurting your email deliverability and business operations. Knowing how to remove your IP from a blacklist is not just a technical task - it requires understanding why you were listed, fixing the root cause, and then following each registry's specific delisting process. This guide walks you through every step with concrete actions, real-world constraints, and a practical example so you can resolve the problem as efficiently as possible.
Key Takeaways:
- Always identify every blacklist that has flagged your IP before submitting any delist requests.
- Fixing the underlying issue (compromised account, open relay, spam complaints) is mandatory before requesting removal - otherwise you will be relisted quickly.
- Each blacklist has its own delisting procedure; a one-size-fits-all approach does not work.
- Improving your sender reputation is an ongoing process, not a one-time fix - monitor your IP regularly.
Content Table

Why IP Addresses Get Blacklisted
Before you can fix a spam blacklist problem, you need to understand how it starts. Blacklists - also called DNS-based Blackhole Lists (DNSBLs) - are databases that track IP addresses associated with spam, malware distribution, or abusive behavior. Operators like Spamhaus, Barracuda, and SORBS collect reports from spam traps, user complaints, and automated detection systems.
Common reasons an IP gets flagged include:
- A compromised email account sending spam without your knowledge
- An open mail relay being exploited by third parties
- Sending bulk email without proper opt-in consent
- A sudden spike in email volume that triggers spam detection
- Hosting malware or being part of a botnet
- Poor list hygiene leading to high bounce rates and spam complaints
Understanding the root cause is not optional - it is step one. Submitting a delist request without fixing the problem almost always results in being re-listed within days.
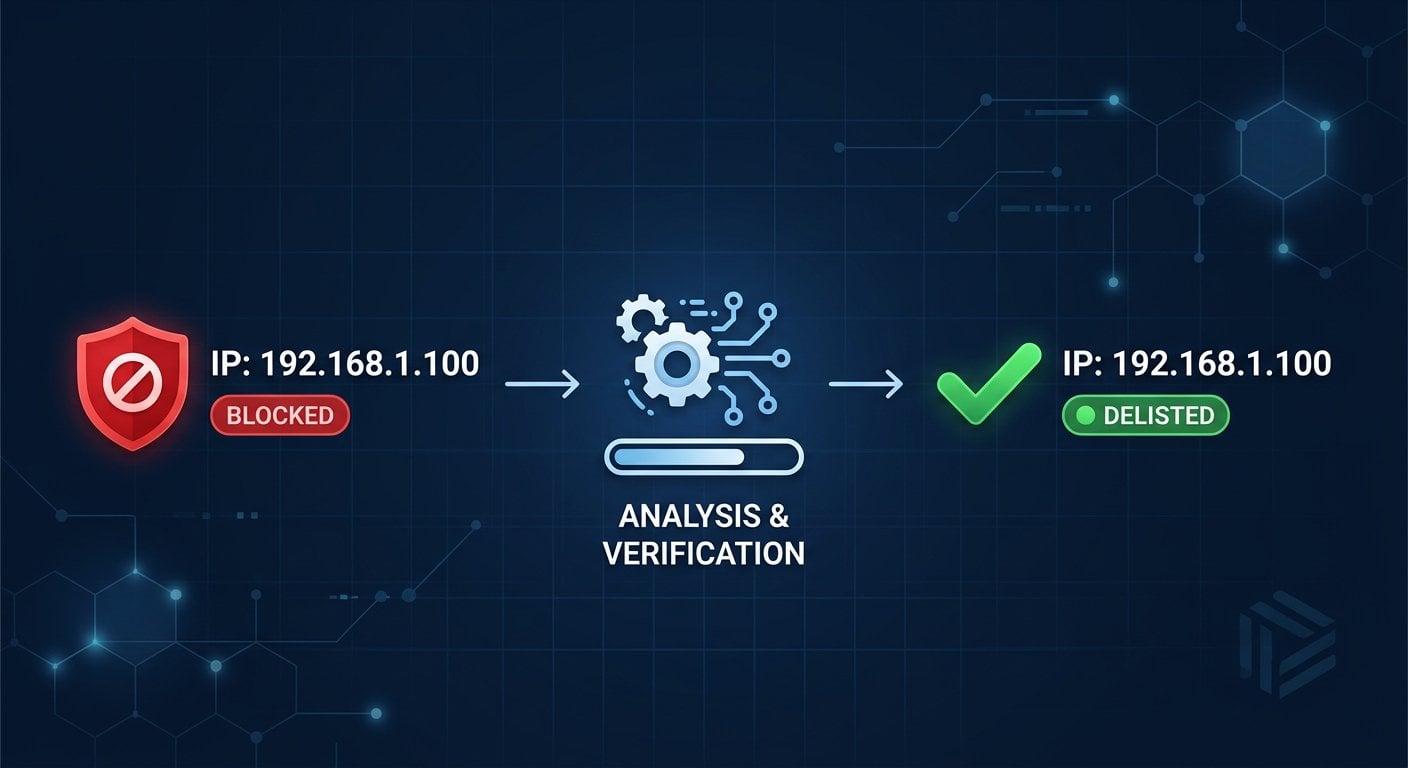
Step-by-Step Guide to Remove Your IP from a Blacklist
Step 1: Check Which Blacklists Have Flagged Your IP
You cannot fix what you cannot see. Start by running a full blacklist scan to find out exactly which registries have listed your IP. Use PortChecker's IP Blacklist Checker to scan your IP against dozens of major blacklists in one click. The tool gives you a clear list of which registries have flagged you, saving hours of manual lookups.
If you are not sure what your current IP address is, you can use the What Is My IP tool to find it before running the blacklist check.
Write down every blacklist that shows a positive hit. You will need to deal with each one individually.
Step 2: Diagnose and Fix the Root Cause
This step is non-negotiable. Before contacting any blacklist operator, you must resolve the issue that caused the listing. Depending on the cause:
- Compromised account: Reset all email account passwords, enable two-factor authentication, and audit outgoing mail logs for unusual activity.
- Open relay: Reconfigure your mail server to reject unauthenticated relay attempts. Check your SMTP settings and firewall rules.
- Spam complaints: Audit your email list, remove unengaged subscribers, and ensure every contact gave explicit opt-in consent.
- Malware or botnet: Run a full security scan on your server, patch vulnerabilities, and consider a clean OS reinstall if infection is deep.
- High bounce rate: Clean your email list by removing invalid addresses and hard bounces immediately.
Keep a record of what you changed. Many blacklist operators ask you to describe the corrective action you took when you submit a delist request.
Step 3: Verify Your Email Authentication Records
Blacklist operators and receiving mail servers want to see that you are a legitimate sender. Make sure these DNS records are correctly configured:
- SPF (Sender Policy Framework): Specifies which servers are allowed to send email on behalf of your domain.
- DKIM (DomainKeys Identified Mail): Adds a cryptographic signature to your outgoing emails. You can verify your setup with the DKIM Checker tool.
- DMARC: Tells receiving servers what to do when SPF or DKIM fails. Validate your policy using the DMARC Validator.
Missing or misconfigured authentication records signal untrustworthiness to spam filters and will hurt your chances of staying off blacklists after delisting.
Step 4: Submit a Delist Request to Each Blacklist
With the root cause fixed and your authentication records verified, you are ready to request removal. Each blacklist has its own process:
- Spamhaus: Visit the Spamhaus lookup page, enter your IP, and follow the removal instructions for the specific list (SBL, XBL, PBL). The PBL is for dynamic IPs and removal is usually automated.
- Barracuda: Use the Barracuda Reputation System lookup page and submit a removal request with a brief explanation of corrective actions.
- SORBS: Log in or register, look up your IP, and submit a delist request through their portal.
- MXToolbox / others: Some listings expire automatically after a set period (typically 7-30 days) if no new spam is detected from your IP.
Be professional and concise in your requests. Explain what happened, what you fixed, and why it will not happen again. Aggressive or vague requests are often ignored.
Step 5: Monitor Your IP After Delisting
Getting removed from a blacklist is not the end of the process. Set up regular monitoring to catch any re-listing early. Re-run the IP Blacklist Checker at least weekly for the first month after delisting. If you use a dedicated sending IP for email campaigns, consider checking it before every major send.
Also monitor your email deliverability metrics - open rates, bounce rates, and spam complaint rates - as indirect signals that something may be wrong before a blacklist listing even occurs.
Concrete Example: A SaaS Company Gets Delisted
Consider a SaaS startup called "Taskly" that sends onboarding emails and product updates to 8,000 users. One Monday morning, their customer success team notices that email open rates dropped from 42% to 11% overnight. Support tickets start coming in from users saying they never received the welcome email.
The team runs a check using PortChecker's IP Blacklist Checker and discovers their sending IP (203.0.113.45) is listed on Spamhaus XBL and Barracuda. Investigation reveals that a developer's email account was compromised two weeks earlier and had been used to send thousands of spam messages through the company's mail server.
Here is what Taskly did:
- Reset all staff email passwords and enabled MFA across the organization.
- Reviewed mail server logs and blocked the compromised account.
- Verified SPF, DKIM, and DMARC records were correctly set using PortChecker's tools.
- Submitted removal requests to Spamhaus XBL (automated removal after IP scan showed clean) and Barracuda (manual request with a written explanation).
- Waited 48 hours, re-checked the IP, and confirmed both listings were cleared.
- Set up weekly automated blacklist monitoring going forward.
Total time from discovery to delisting: 3 days. The key was acting immediately and providing documented evidence of corrective action to Barracuda.
How to Improve Your Sender Reputation Long-Term
Delisting fixes the immediate problem, but improving your sender reputation is what keeps you off blacklists permanently. Here are the most effective ongoing practices:
- Use double opt-in for email lists: Confirms subscriber intent and dramatically reduces spam complaints.
- Maintain list hygiene: Remove hard bounces immediately and suppress contacts who have not engaged in 6-12 months.
- Warm up new IPs gradually: Start with low volumes and increase slowly over several weeks to build a positive sending history.
- Monitor feedback loops: Major ISPs like Gmail and Outlook offer feedback loop programs that notify you when recipients mark your emails as spam.
- Keep complaint rates below 0.1%: Google Postmaster Tools lets you track your domain reputation and spam rate directly with Gmail.
- Use a dedicated sending IP: Shared IPs mean your reputation can be affected by other senders on the same server.
Real Constraints You Need to Know
Not everything about the delist process is straightforward. Here are real limitations that catch people off guard:
- Some listings do not have manual removal: Certain blacklists (like some Spamhaus PBL entries for ISP-assigned dynamic IPs) require you to contact your ISP, not the blacklist operator.
- Removal is not instant: Even after approval, DNS propagation can take up to 24-48 hours before the listing clears globally.
- Repeated requests can get you blocked: Submitting multiple removal requests for the same IP without fixing the problem can flag your IP as a repeat offender, making future removal harder.
- Shared hosting complicates things: If you are on shared hosting, other tenants on the same IP may be causing the listing. Contact your hosting provider and consider upgrading to a dedicated IP.
- Some blacklists charge for removal: A small number of registries offer paid expedited removal. This is generally not recommended - fixing the root cause and waiting is almost always the better path.
Conclusion
Getting your IP removed from a blacklist requires more than just clicking a delist button. It demands honest diagnosis, concrete fixes, and a consistent commitment to email best practices. By following the steps in this guide - checking which blacklists flagged you, resolving the root cause, verifying your authentication setup, and submitting well-documented removal requests - you give yourself the best chance of a fast, permanent resolution. Treat the experience as a signal to build stronger email hygiene habits, and you will rarely face this problem again.
Check Your IP Against 100+ Blacklists in Seconds
Use PortChecker's free IP Blacklist Checker to instantly scan your IP address across dozens of major spam registries. Know exactly where you stand before you start the delist process.
Check Your IP Now →
It depends on the blacklist. Automated removals (like Spamhaus XBL for clean IPs) can happen within hours. Manual requests to operators like Barracuda typically take 24-72 hours after submission. Add another 24-48 hours for DNS propagation before the change is fully visible across the internet.
Technically yes, but you will almost certainly be re-listed within days. Blacklist operators monitor re-listing patterns, and repeat offenders can face longer listing periods or permanent blocks. Always fix the underlying issue before submitting any delist request.
It depends on which blacklists the receiving mail server checks. Major providers like Gmail and Outlook use multiple blacklists and their own filtering. A listing on a widely-used blacklist like Spamhaus SBL will affect a large percentage of your outgoing email, while a less-used registry may have minimal impact on deliverability.
An IP blacklist flags a specific IP address, while a domain blacklist flags a sending domain or URL. Both affect email deliverability, but they require separate checks and separate delist processes. It is possible to be listed on both simultaneously, so check each type independently.
For active email senders, a weekly check is a reasonable baseline. If you run large campaigns, check before each major send. After a recent delisting, check daily for the first two weeks to catch any re-listing immediately. Regular monitoring is the simplest way to protect your sender reputation.